Best Press on Nails NZ - SHINEE PROJECT ✨
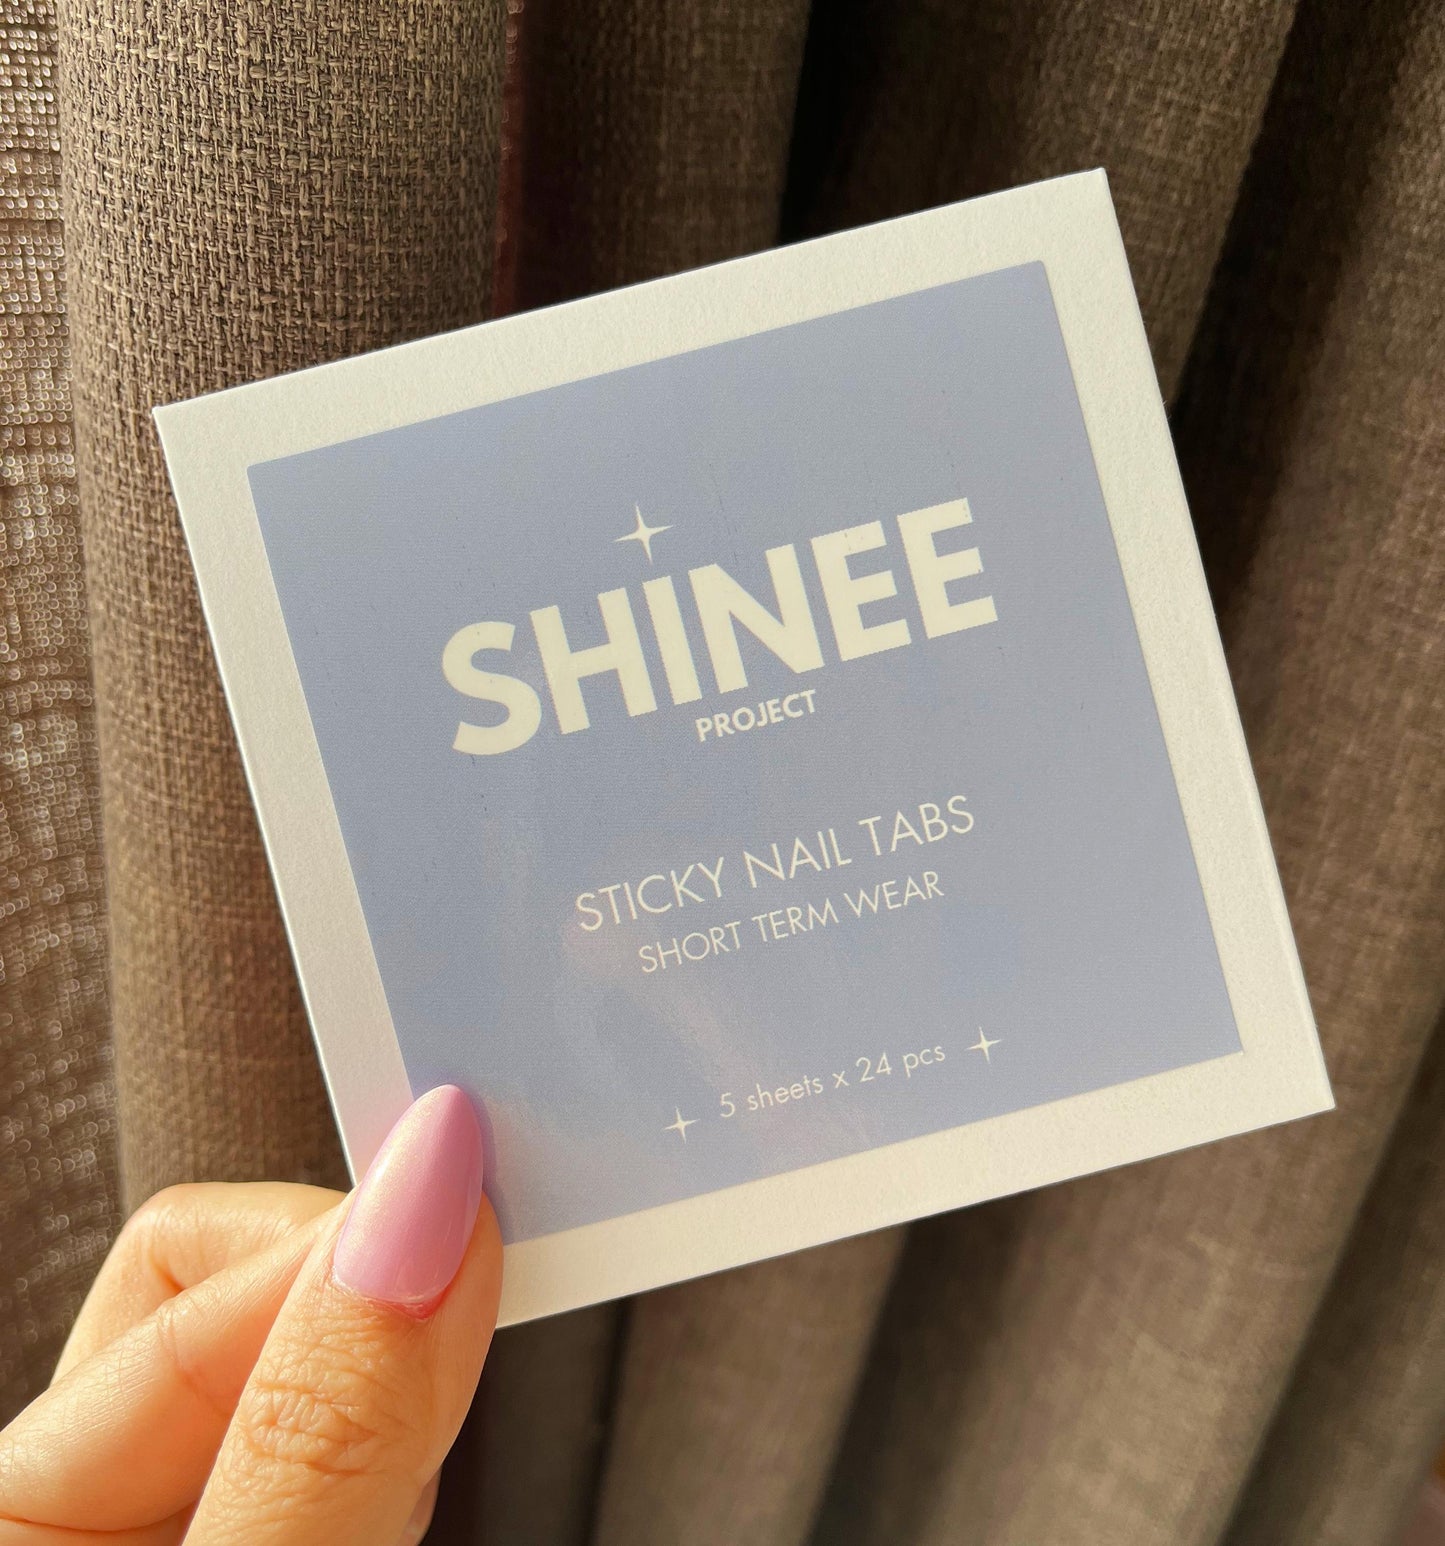
Super Sticky Tabs (5 Pack)
Super Sticky Tabs (5 Pack)
Couldn't load pickup availability
What's in a Pack
What's in a Pack
Reuse your SHINEE nails multiple times with our extra pack of sticky tabs, designed for temporary wear of up to 5 days and easy removal! ✨
These instant nail sticky tabs are ideal for one-night events, weekends, or any occasion.
Each pack contains:
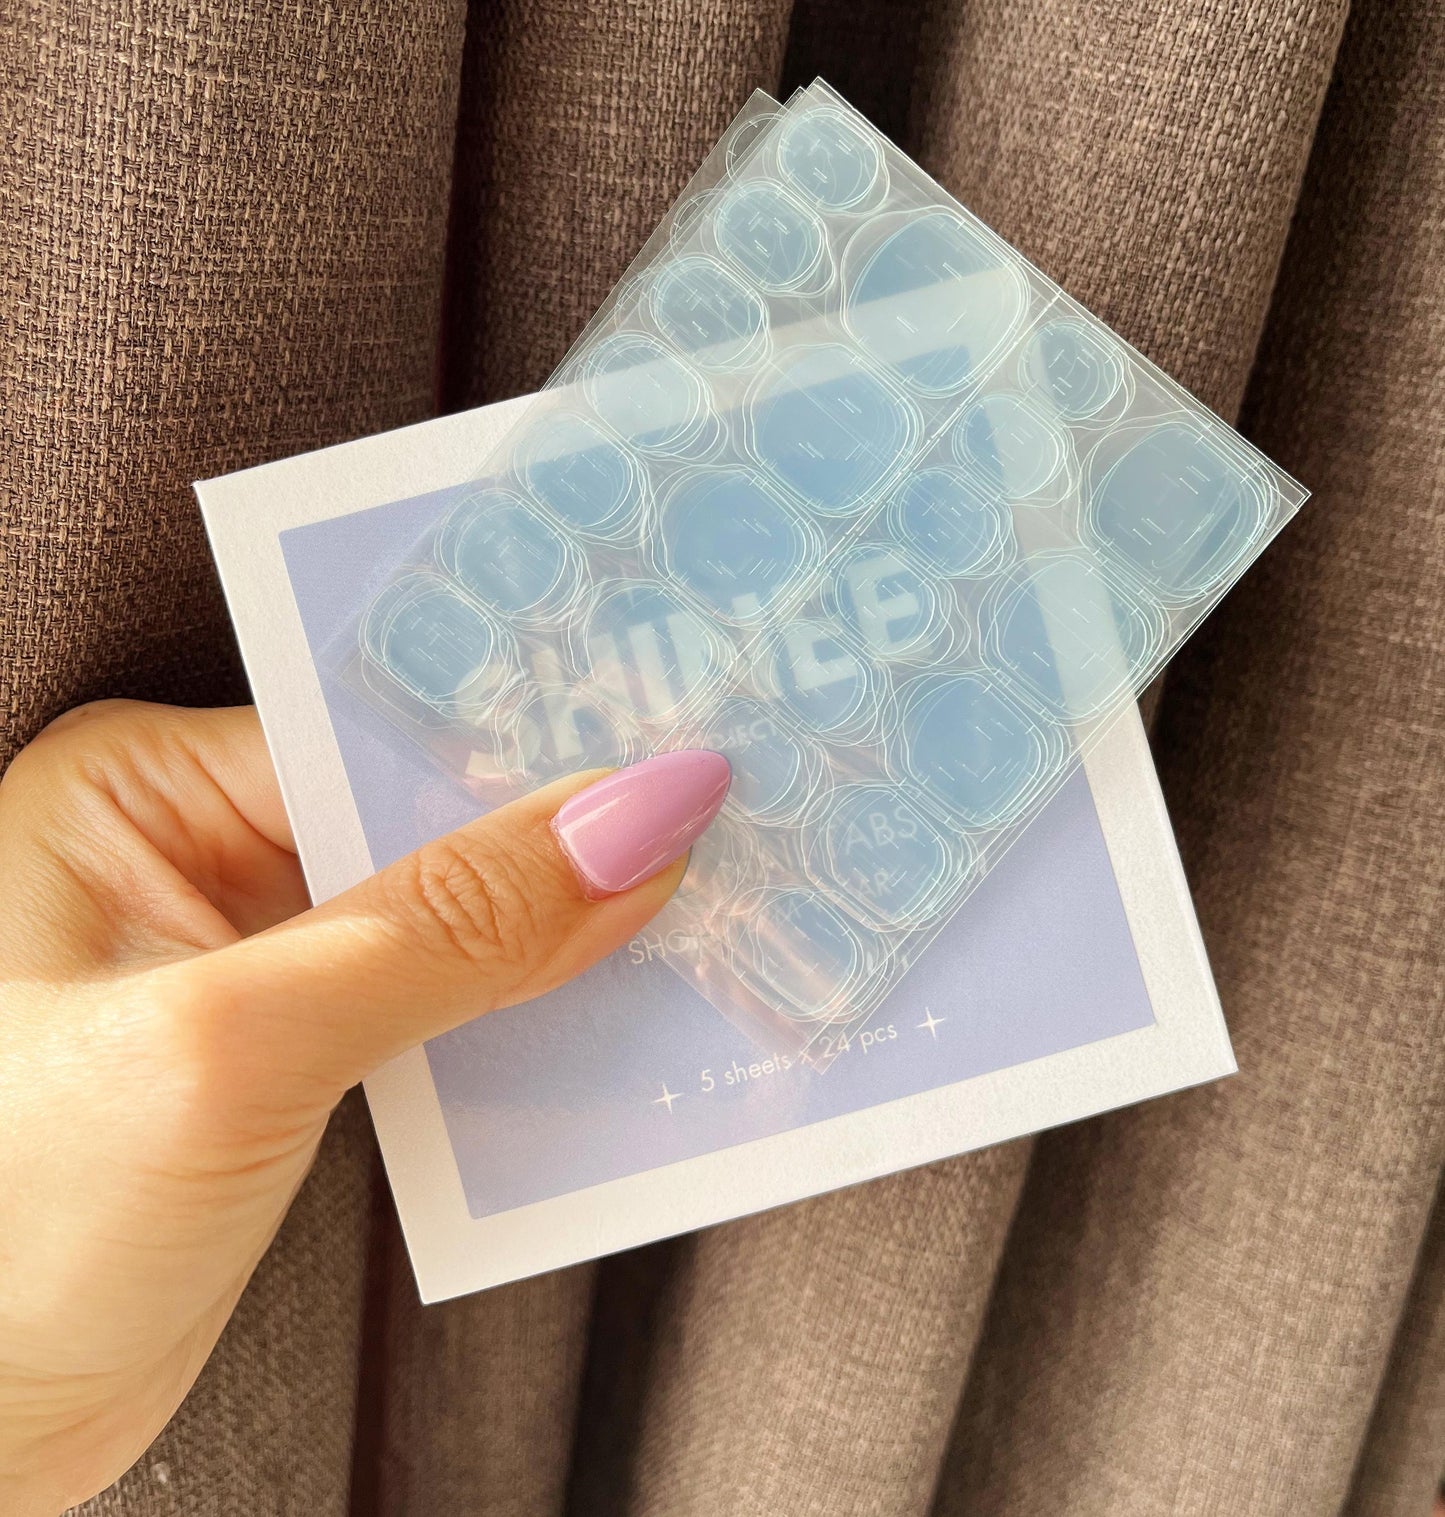
- 5 sheets of 24 piece adhesive tabs (12 sizes per sheet)
Why Sticky Tabs Are Perfect for You
Why Sticky Tabs Are Perfect for You
Sticky Tabs are perfect for you if:
- You can't have long nails for work but want to wear them temporarily for a weekend, event, or night out!
- You only like having long nails for a few days at a time.
- You constantly like to switch up what nail designs you rock; the sticky tabs are perfect so you can match your nails with your outfits!
- You prefer a quick and easy nail application without the need for glue or salon visits.
- You enjoy experimenting with different nail styles without committing to a single look for too long.
- You need a solution that allows for quick removal and reapplication, perfect for spontaneous plans or last-minute events.
- You want a gentle option that minimizes damage to your natural nails compared to traditional adhesives.
How to Apply Press on Nails
How to Apply Press on Nails
Step 1: Prep is Key!
Push back cuticles with a wooden stick. Use a nail file to shape your nails to your desired shape. If your natural nails are long, consider trimming them down a bit to ensure that the press-on nails will fit properly. Also, use a nail file to gently buff the surface of your nails. This will help the press-on nails adhere better.
Step 2: Cleaning
Swipe rubbing alcohol over your nails to remove any dirt, oils. This step is important because it helps the press-on nails stick better to your natural nails.
Step 3 : Apply Glue or Sticky Tabs to the Press-On Nails
Glue: Apply a small amount of nail glue onto the press-on nail. Be careful not to apply too much glue as it may cause the press-on nail to slide around or not adhere properly.
Sticky Tabs: Select the correct size of sticky tab, stick it on your natural nail. Press down firmly for 5 seconds and then remove the transparent film.If you are having difficulty lifting the film, we recommend using a cuticle stick or a pair of tweezers.
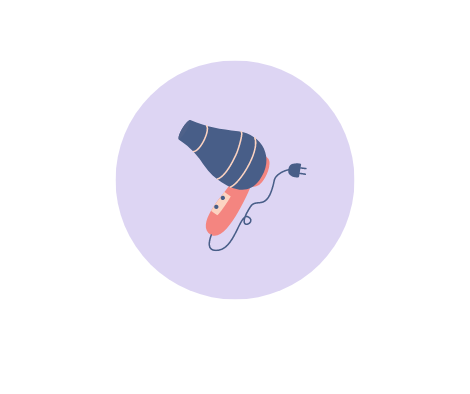
(Optional) Before lifting the film, use a hairdryer to gently heat up the sticky tabs for extended durability.
Step 4: Apply the Press-On Nails
Carefully place the press-on nail on your natural nail, starting at the cuticle and pressing down firmly. Hold it in place for a few seconds to allow the glue to dry. If using sticky tabs, align the nail with your cuticle line and apply at a 45-degree downward angle. Press down firmly for 15 seconds to avoid any air bubbles.
Step 5: Repeat for all Nails
Repeat steps 3 and 4 for all your nails. Make sure to press down firmly on each press-on nail to ensure that it adheres properly.
How to Remove Press on Nails
How to Remove Press on Nails
Step 1 : Soak
Soak in a bowl of warm water with a few drops of dishwashing liquid and oil for 15 minutes. This will soften the glue and make it easier to remove the press-on nails.
Step 2 : Loosen
After soaking, use a the cuticle stick or fingers to gently loosen the press on from the edge of your natural nails after you have soaked the nails for 10 mins.
Step 3: Remove
Once soaked and loosened for 15mins, simply peel the press ons off your natural nails.
At this stage, it is also recommended that you remove any residual glue or sticky tabs on the press ons before storing
Step 4: Dry
Using a paper towel or cloth, gently dry the press on nails and store them in the Shinee nail kit for future use
**If the press-on nails do not come off easily, repeat steps 1-2 until they are completely removed**
GOOD TO KNOW
- Reusable
- Easy Application
- Healthy Nails
Share
-

1. Pick
Match your size
-

2. Prep
Prep and clean nails
-

3. Glue
Apply glue/sticky tabs
-

4. Press
Press and hold
Useful Tips
♥ It is recommended to heat up the sticky tabs before applying the press-on nails for a longer-lasting effect.
♥ Try to avoid contact with water within two hours of applying the nails.
✨ THE SHINEE PROJECT ✨
Innovative Nail Design
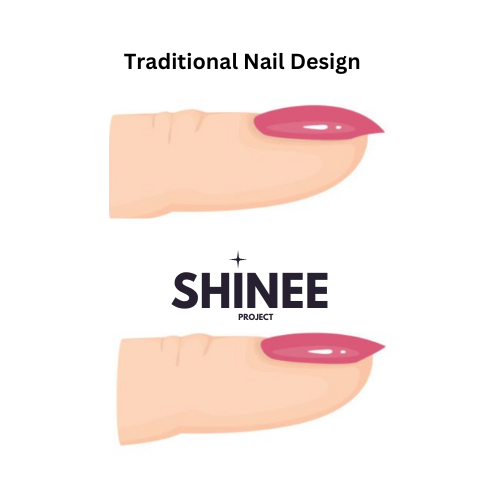
Traditional press-on nails often have an exaggerated curve that doesn’t fit well against natural nails. Our flatter design maximizes contact, ensuring stronger adhesion. Say goodbye to gaps and hello to long-lasting, beautifully manicured nails! 💅
Enhanced Adhesion
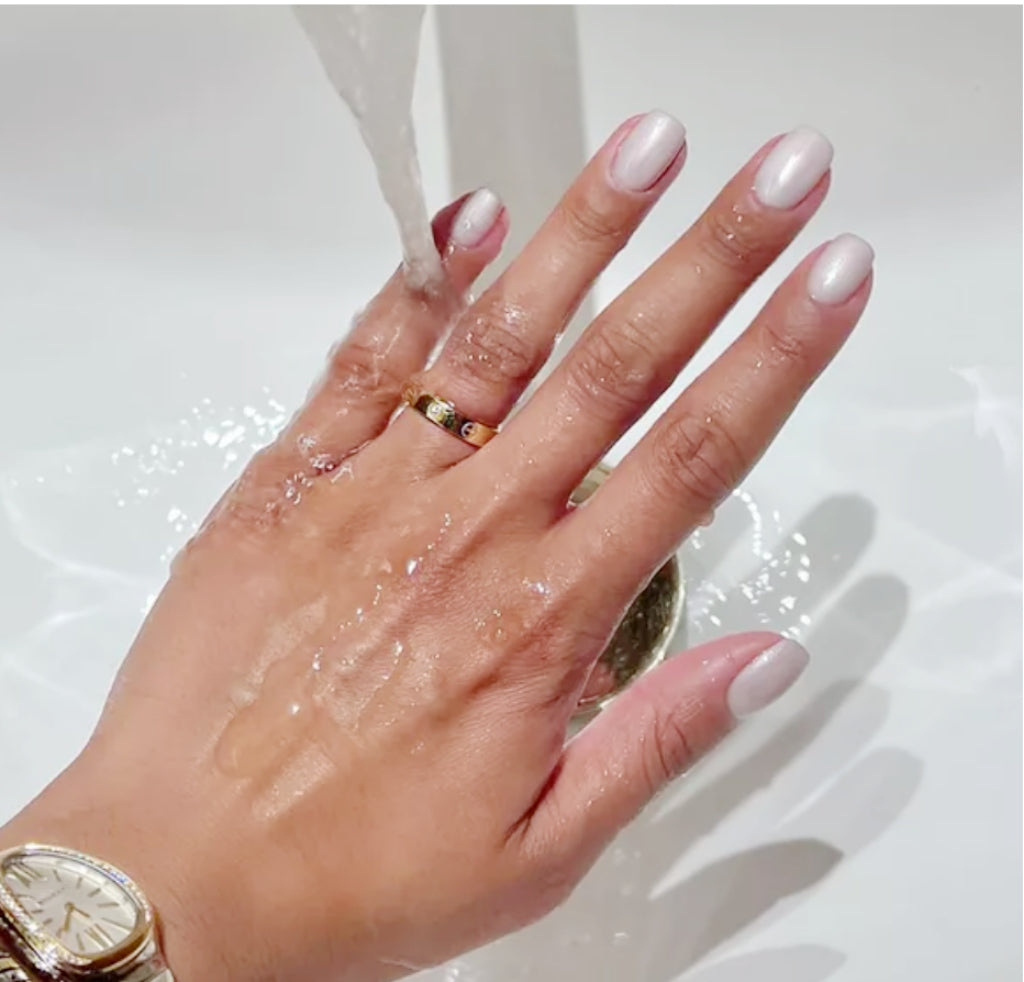
Our premium sticky tabs are designed to be thicker than standard tabs, ensuring enhanced adhesion that endures longer and resists water exposure more effectively.
Our nail glue is engineered to deliver a secure hold for over two weeks and to exhibit water-resistant properties once properly cured.
Monthly New Arrival
Every month, we will have new designs added to our press-on nails collection to make sure you're always on top of the trends!
Reusable Packaging
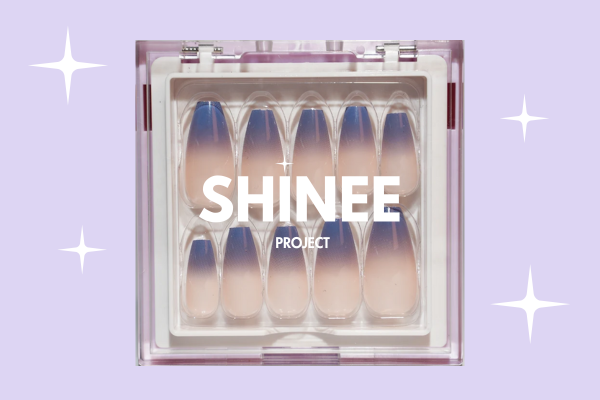
Each SHINEE nail set includes a premium acrylic kit with enough storage for your essentials. Keep it handy in your bag at all times to ensure you always have a backup plan for your nails.


